
Master class 1: from a cross-stitch pattern to machine embroidery
Turn a Pattern Maker chart (.XSD) into a file your embroidery machine can stitch. Every cross of the chart becomes an X made of two diagonal machine stitches, and every thread colour becomes one colour block. You choose the size of the cross.
Open the From a file tab, drop your .XSD file in the Pattern Maker box and press View pattern & track progress. You can also open the pattern viewer directly and drop the file there.
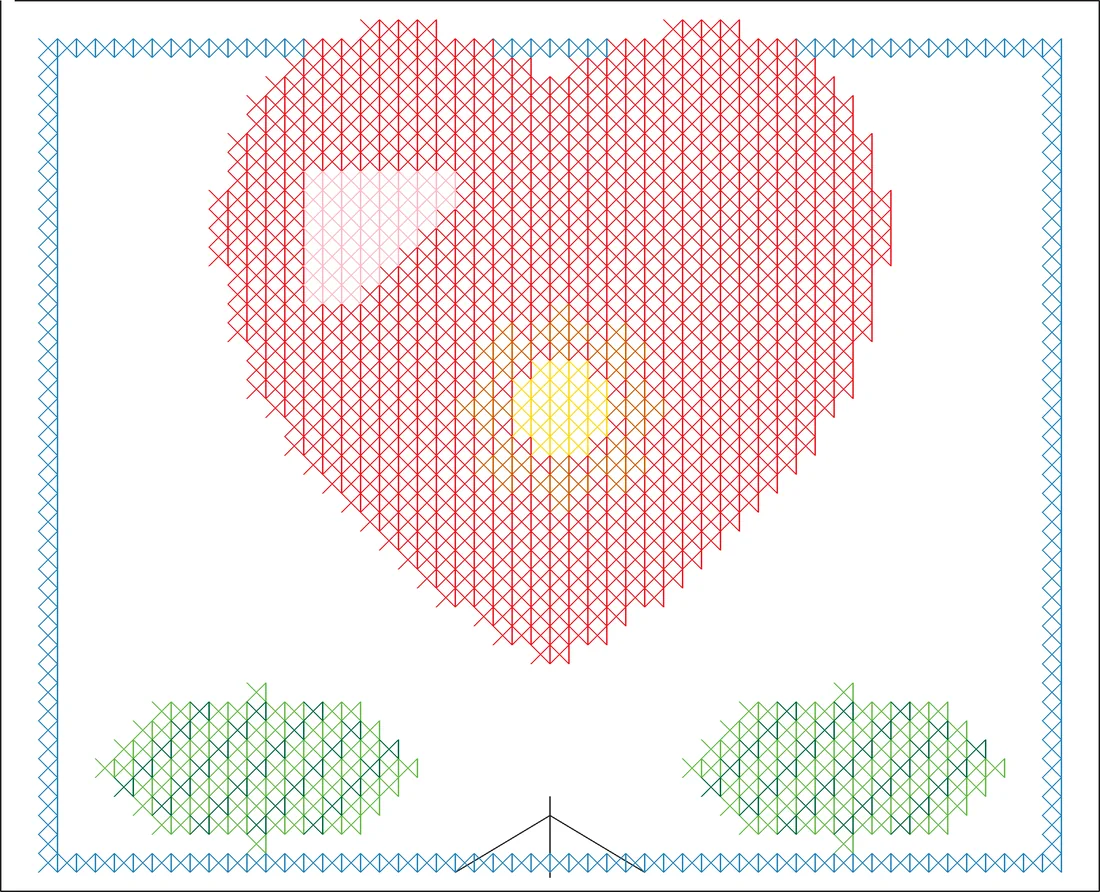
Zoom in and check the chart. The thread list shows every colour and how many crosses it has. Tap a thread to see where it is used.
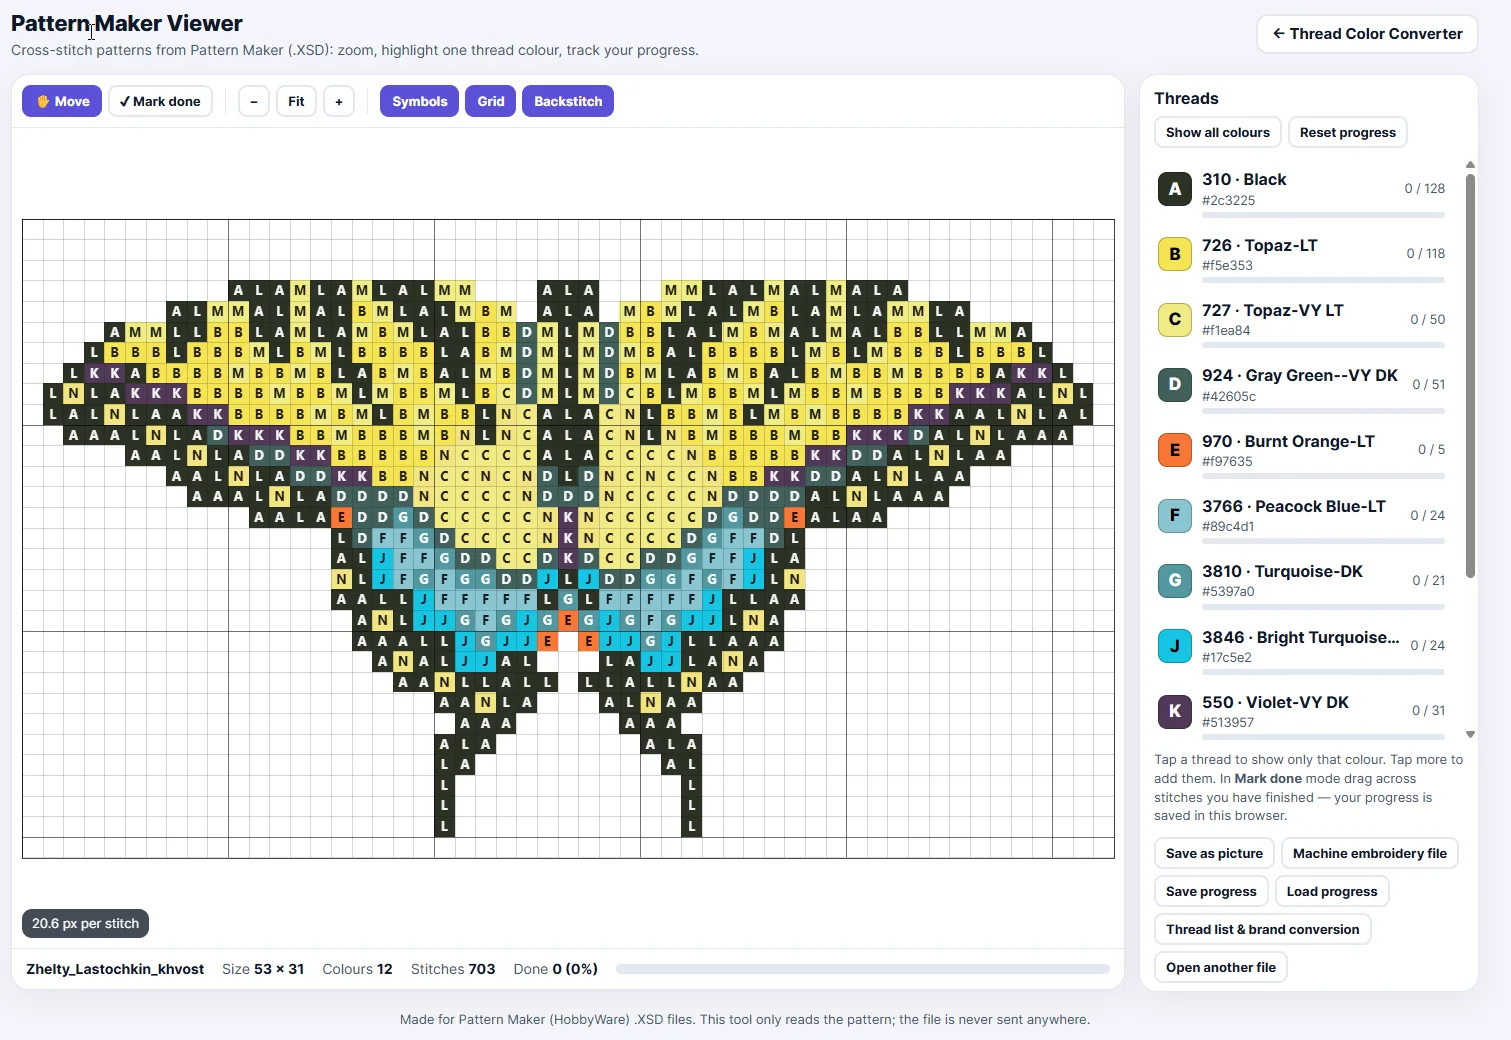
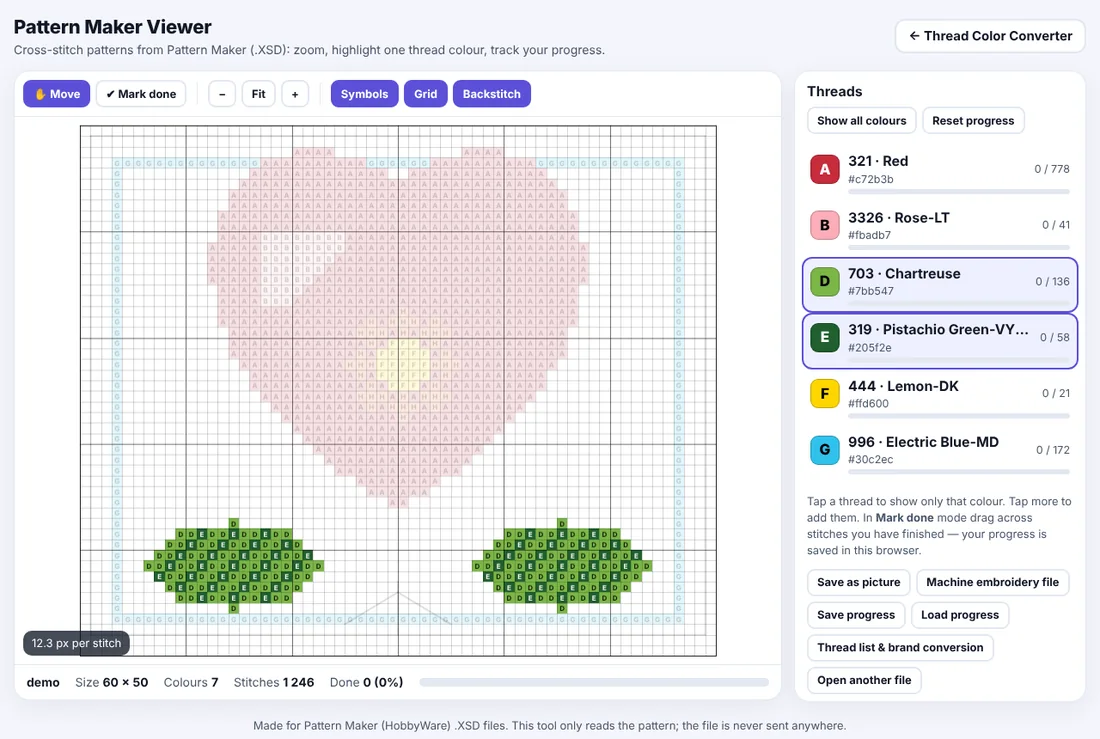
The button is under the thread list, next to "Save as picture". A window opens where you set everything up.
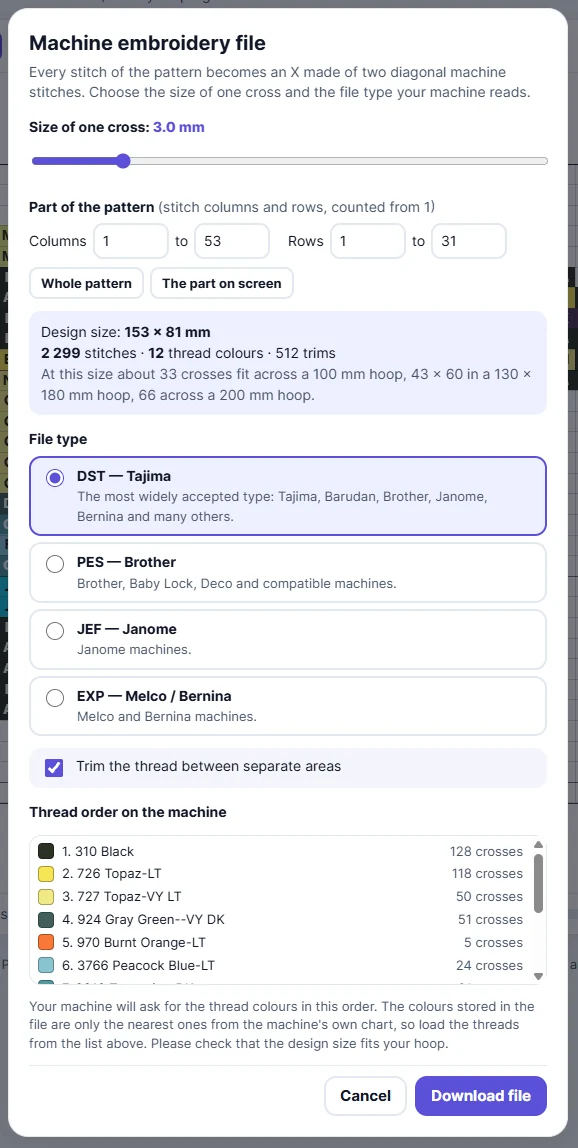
A hoop is much smaller than most charts. Type the columns and rows you want, or zoom the viewer to the part you want and press "The part on screen" — or press "Draw on the pattern" and drag a rectangle over the part. The window shows the size in millimetres and how many crosses fit in a 100 mm, a 130 × 180 mm and a 200 mm hoop.
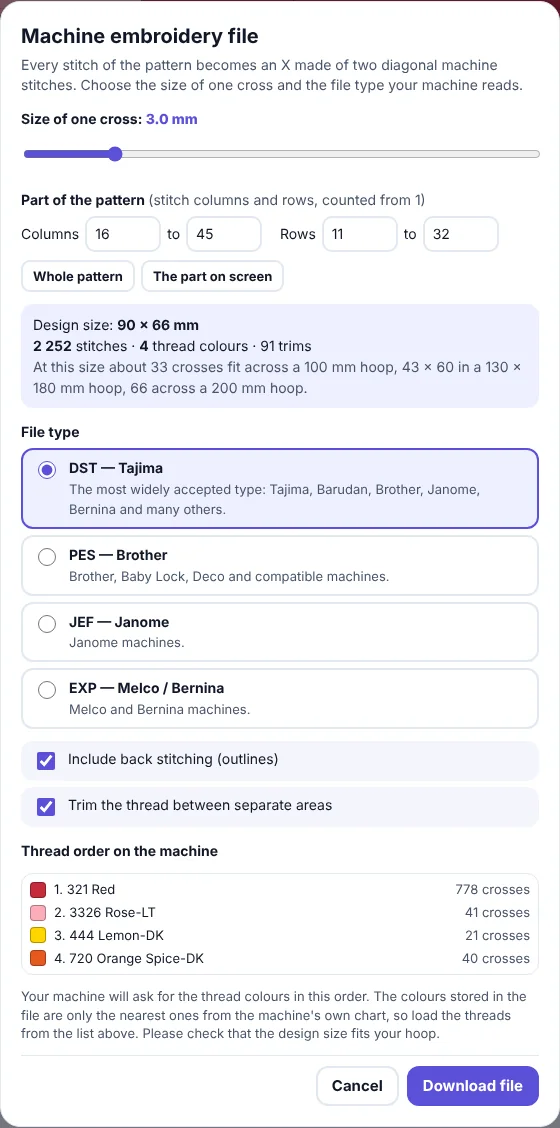
Move the slider from 2 to 8 mm (3 mm is the default). Bigger crosses look more like hand cross-stitch and sew faster; smaller crosses show more detail. The table below helps you plan.
DST (Tajima) is accepted by most machines; PES is for Brother and Baby Lock; JEF for Janome; EXP for Melco and Bernina; VP3 for newer Husqvarna Viking and Pfaff; HUS for older Husqvarna Viking; XXX for Singer. Back stitching (outlines) and trimming between separate areas are on by default. You can also skip the stitches you have already marked as done, or stitch only the threads you highlighted.
Press "Download file", copy it to a USB stick or memory card the way your machine reads it, and open it on the machine. Check the design size on the machine screen against your hoop.
The window lists the thread order; the machine stops at every colour change. To find machine thread for your pattern colours, press "Thread list & brand conversion" in the viewer and pick Madeira, Isacord or another brand — you get the closest numbers and a shopping list.
Stitch a small part on scrap fabric with the same stabiliser before you start the real piece. If the crosses look too dense or too sparse, make a new file with another cross size.
Cross size and design size
Ready figures for planning:
| Cross size | 100 crosses wide | Across a 100 mm hoop | In a 130 × 180 mm hoop | Across a 200 mm hoop |
|---|---|---|---|---|
| 2 mm | 20 cm | 50 | 65 × 90 | 100 |
| 2.5 mm | 25 cm | 40 | 52 × 72 | 80 |
| 3 mm | 30 cm | 33 | 43 × 60 | 66 |
| 4 mm | 40 cm | 25 | 32 × 45 | 50 |
| 5 mm | 50 cm | 20 | 26 × 36 | 40 |
| 6 mm | 60 cm | 16 | 21 × 30 | 33 |
Good to know
- Every cross is two straight diagonal stitches joined by a short stitch along the edge of the cell; neighbouring crosses mostly hide these connecting stitches.
- Back stitching is sewn as a plain running line.
- Half stitches, French knots and beads are not converted.
- VP3 and XXX files carry the exact thread colours. PES, JEF and HUS only carry the nearest colours of the machine's own thread chart, and DST and EXP carry no colours. Use the thread order shown in the window to load the right threads.
- If you cut a big pattern into several parts, each part is its own file centred on the hoop. Mark the position of every part on the fabric yourself.
- The file is made in your browser. Nothing is uploaded.